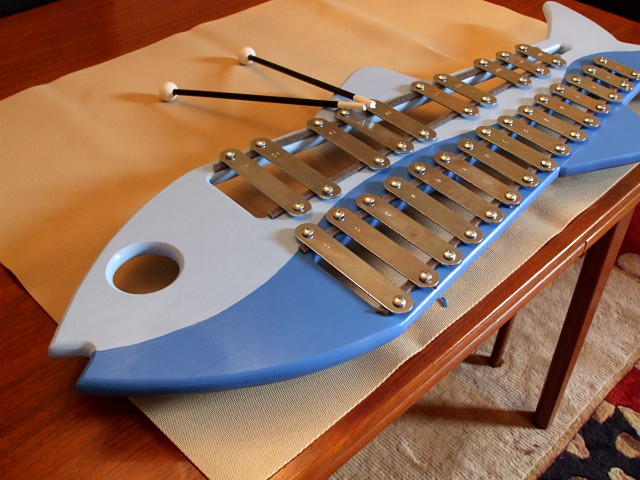
It’s funny how weekend projects always seem to take longer than you expect. This one started in October, when I saw a xylophone kit at Lee Valley and decided that it would make a good gift for my nephew’s upcoming seventh birthday. One weekend stretched into three partial weekends and a couple of early mornings and late nights, but these things always do.
I’m not normally the kind of woodworker who plans in advance: I usually have an idea in my head and just dive madly into the project, making up the details as I go. But for things that I’m giving away or that have deadlines, I try to be a little more careful. I even did sketches and a full-scale model for this one. The sketches helped me come up with what I think is a much better design than the one I initially had, and the model allowed me to identify a weak point in my initial plan and improve the final piece accordingly.
Check out the gallery after the jump to see the whole project.
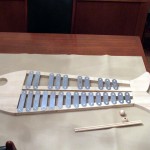
- Hmm, looks pretty easy. I just need to drive a few screws into a slab of wood. Can't get much easier than that.
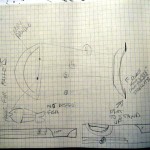
- The plans that come with the kit are fairly simple, suggesting a basic frame that can be assembled with a bit of glue and eight screws. But I had a slightly different plan in my head.
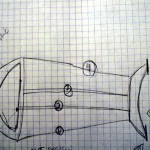
- I wanted something that could be carried around with one hand, included on-board storage for the mallets, and was designed to stand on end for easy storage. My initial drawing was based on the open frame from the manufacturer's plans, but with a carrying handle at the top and feet to stand on.
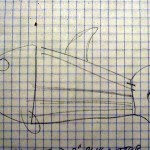
- As I continued to doodle away at the plan, wondering how to make it child-friendly, I realized that the basic shape was somewhat fish-like.
- I replaced the carry handle and feet with a fish head and tail, but otherwise left the basic frame the same. A nice big hole for an eye would make an ideal carry handle for small hands, and the tail is virtually the same shape as the feet I'd been planning. The idea is starting to come together. Next stop, a full-sized template.
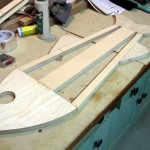
- My first dry fitting of the template. I was pleased enough at this point to seriously consider just gluing up the template rather than using it to cut a final version. All of the curves were traced with a drawing bow and then cut on the scroll saw. Looking at the template made me realize that the joints between the body and the end pieces were potentially pretty weak.
I thought about cutting it all out of a single piece of plywood to eliminate the joints altogether, but ended up with a simpler solution: instead of two narrow pieces in the middle, I could just use one wider one. That meant more gluing area and the ability to reinforce the joint with biscuits. The narrower joints at the top and bottom would get dowels. I would also add fins at the top and bottom.
I sanded the head and tail down to the finished shape and then used them as router templates to make the final pieces.
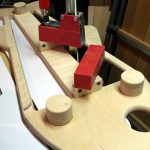
- Building the template first also made me realize that glue-up would be difficult, with six joints at three different angles all needing to be glued and clamped at once. I used the cutoffs from the original template as cauls to make it easier. Having dowels and biscuits to align everything also made it much easier.
- With the main glue-up done, I'll sand everything smooth and put a rounded profile on all of the edges.
- I added three feet and two mallet storage blocks to the bottom. Time for more sanding and week-long pause while I think about how I'm going to paint it.
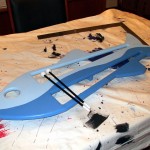
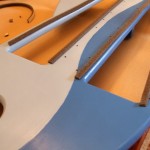
- For paint, I decided to go with a simple two-tone scheme that suggests both water and motion. The mallets got an equally simple yet elegant black and white treatment. Two coats plus touch-ups everywhere, three coats on the mallet heads.
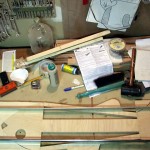
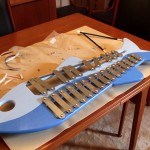
- Next up: drilling fifty pilot holes for all of the screws and laying down the foam that the metal bars rest on.
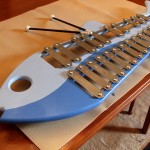
- Final assembly is nearing completion, with just a few bars left to secure.
- All done!
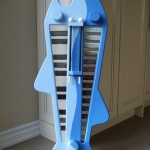
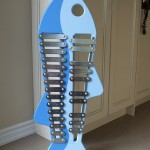
- Standing up, with the mallets resting in their on-board storage blocks.
- Ready to be wrapped and given away. I'm quite happy with the way that it turned out, and hope that my nephew and his siblings enjoy making music for many years.
Although this particular design is original, I’m obviously not the first to think that fish and xylophones are natural partners.
Caul? The caul of the wild? Caul waiting? Caul me a cab? Caul y flower? You sent me running to the dictionary (and, no, it didn’t contain the word “college”in its title). Learn something new every dang day.
Great looking job. Wee done! Make music for years to come? C’mon, any self-respecting 7 year old will have that sucker ripped to pieces within six months. Unless his parents intervene, lecture him about the importance of thexylophone in orchestral history and engender in him a life-long resentment of music. Abd his uncle.
Welcome back, by the way. Too long bewtween posts, slacker, although the xylichthys might constitute an adeqate excuse.
Very nice job! I love this design, and my daughter and I are in the process of doing something very similar.
How are the foam strips holding up? I saw a suggestion somewhere that it might be better to forget about them and use a felt-topped strip of wood instead.