I was riding downtown a couple of weeks ago and decided to pop my bike up on one of the newly installed public bike repair stands to give it a quick once over:
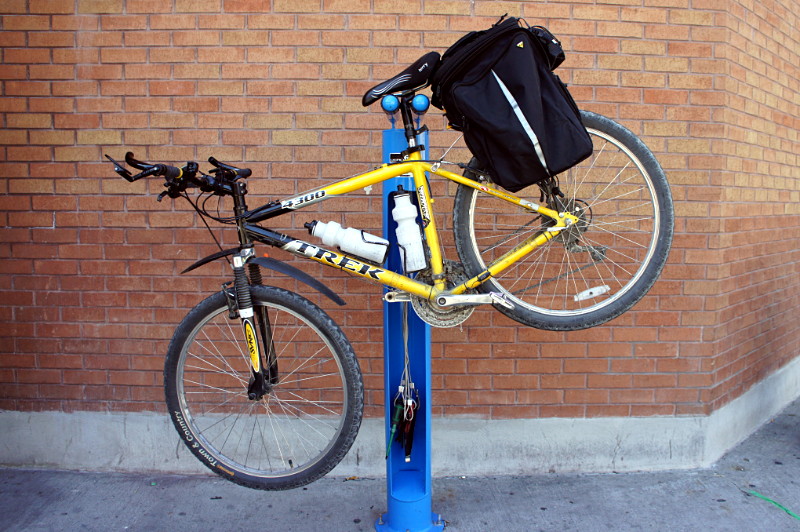
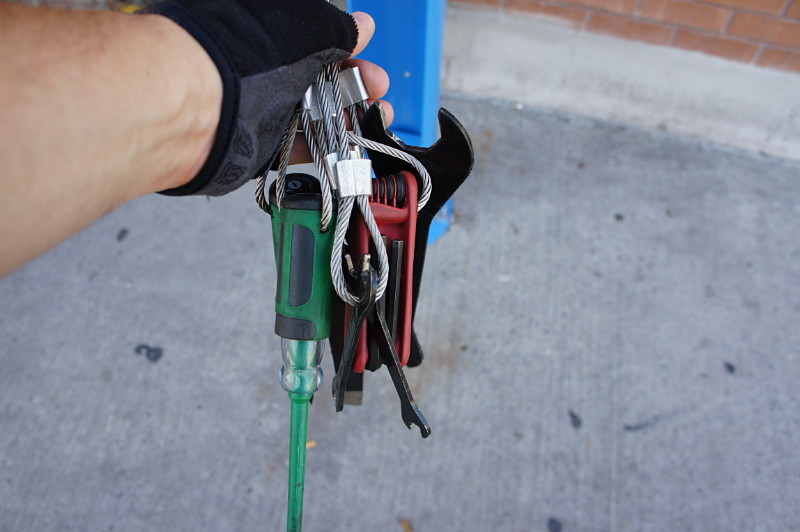
Each of the three stands downtown (plus one more on the university campus) includes a full set of tools for most basic on-the-go repairs and adjustments:
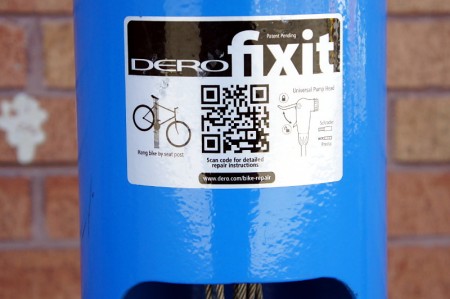
The stands even feature bike repair videos and tips, via a QR code that links to a helpful website.
 This is the kind of cycling infrastructure that I love: it’s incredibly useful for both casual and seasoned riders and just sits unobtrusively in the background until it’s needed. The only thing missing from the stand is a pump, which is probably the one tool that would be used the most. Susan Sauvé, a transportation planner at the city, told me via email that pumps were originally included with the stands when they were installed in July, but they all broke within a week. The city currently has more durable pumps on order from the manufacturer and hopes to re-install them soon.
My bike checked out fine on this occasion, but I definitely could have used one of these stands when my pedal broke near Grange Park last year and I needed to conduct some emergency repairs before finishing my commute. It’s good to know that if it happened again today, I’d be just a short 163 km ride away from this stand at the corner of George and Simcoe Streets in downtown Peterborough. The two other downtown Peterborough locations would be a smidge closer, and the one at Trent University a bit farther. The stands were installed this summer through a partnership of the City of Peterborough and B!ke, a local DIY bike repair shop. Oh, you didn’t think these were in Toronto, did you? Doncha know there’s a war on the car here? The last thing we want to do is make things easier for those dastardly bikers.
